2nd Gen 4Runner Double Cup Holder
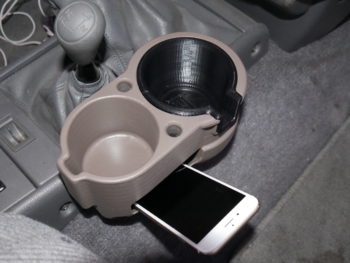
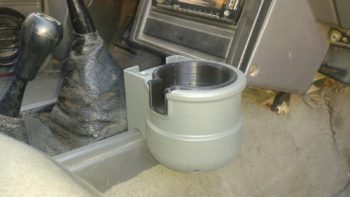
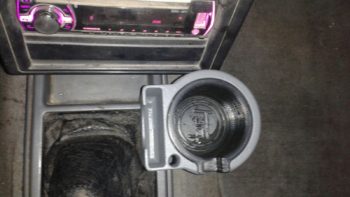
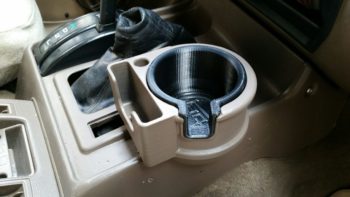
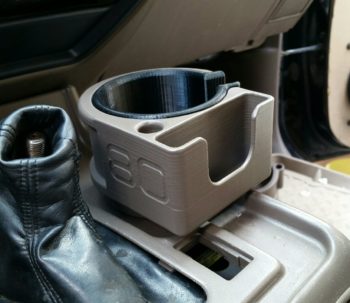
This is a double cup holder for the 1990-1995 Toyota 4Runner. It is made of ABS plastic. It will hold two cups, 2 cell phones, 2 pens, and a flashlight. The black insert gives you a 3″ diameter hole to hold a large variety of drinks. The smaller hole(closer to driver) is about 2 3/4″ which holds soda cans, water bottles, and medium sized drinks nice and snug. With the black insert removed you have a 3 3/4″ hole which holds a Nalgene sports bottle and other large bottles. This comes in the factory Tan, gray, golden brown, and satin black. This attaches with 2-4 self taping screws and strips of 3M automotive adhesive. The amount of screws varies between the 2WD, 4WD, and manual tranny cup holders due to the curvatures of each console and the screws needed to make it secure.
1995-2004 Tacoma Double Cup Holder
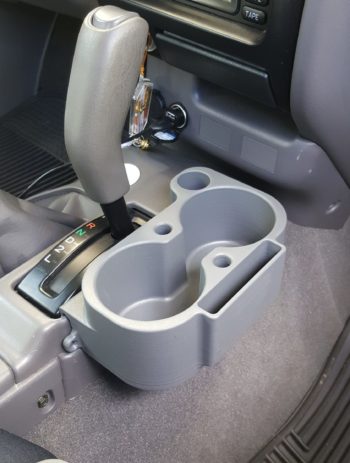
This is a double cup holder for the 1995-2004 Toyota Tacoma. There are two versions. One is for the 2WD and 4WD automatic and one is for the 2WD/4WD manual tranny. They are identical other than the mounting surfaces underneath. They come in the two factory colors of gray or tan. You can also order in satin black if preferred. It is made of ABS plastic. This cup holder will hold two drinks, a cell phone, flashlight, and 2 pens. It mounts with 2 strips of 3M automotive adhesive and 2 self taping screws. The screws are not a must for install but are a nice added bit of insurance for extra strength if you are adding two large drinks. The cup holder will hook up onto the console by wedging itself between the tranny shifter bezel and the console bezel. If you have the automatic tranny version you may need to wiggle the console and shifter bezel a bit to get the hook to slide down into place. It is a snug fit but does fit.
Aluminum 5th Gen 4Runner TEQ Front and Rear Badges
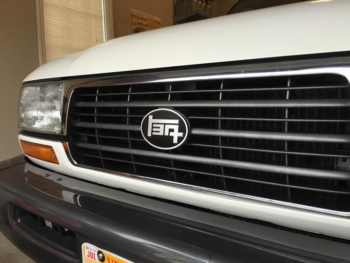
These are machined aluminum TEQ badges for the front grill and rear hatch of the 2009-Present 5th Generation Toyota 4Runner. They come in 3 color options. There is the popular black/silver combo, the retro red/silver combo, and the bare metal for the folks who want to do their own color option. These mount with strips of 3m automotive adhesive on the backside. The factory badge can be removed without even lifting the hood. You simply need a butter knife to pry behind the factory badge and pop it off. There are 3 plastic tabs that hold it on. No screws or adhesive were used to mount the factory badge. My TEQ badge will mount right over the same surface the factory badge was mounted to. Make sure you clean the grill well before sticking the badge on. The rear badge is more difficult to remove. It was installed from the factory with adhesive which will put up a fight before letting go. Be patient with the removal. Good force will be needed to remove it. Also, make sure you line up the badges VERY carefully because once you stick them on they will NOT want to come off.
1st Gen 4runner Single Cup Holder
This is a cup holder for the 1st gen body 4runner. It is for the manual transmission set up ONLY. It will hold just about any fast food cup size drink with the insert installed. With the insert removed it can hold a large sports (Nalgene) bottle. There is also a pen holder and cell phone holder. The inside width of the cell phone slot is 3.25″ That should accept just about any cell phone on the market including the new IPhone6 plus. There are two avialable colors: the dark gray or black. Both colors come in a satin/flat finish. Installation: There are two strips of 3M automotive adhesive underneath the cup holder to aid in attachment. There are also 2 screw holes located at the bottom of the cell phone tray and on the bottom outer edge. Two self taping screws are provided. No drill bits or power tools are needed. Just thread the screws into the plastic with a handheld phillips screw driver. They will drill themselves into the plastic. Do NOT over tighten. You are threading into thin plastic. Thread the screws in until they are snug and stop.
80/100/LX450/LX470 Rear TEQ Badge (91-07)
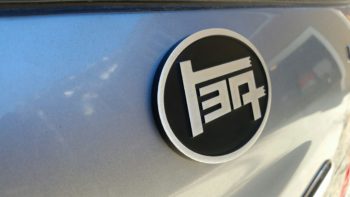
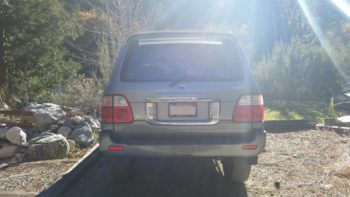
This is an aluminum TEQ emblem for the rear hatch of all years 80 and 100 series (LX and YOTA). It has a brushed finish on the letters and outer ring. This badge can replace the factory “sombrero” or “L” OR can be mounted to either side. There is a curvature on the back that matches the curvature of the rear hatch. The emblem can be slid left or right of the factory emblem but not up or down. To attach, you will use two strips of 3M automotive adhesive (provided and already attached) Make sure to take your time when installing because once you install, the adhesive doesn’t like to let go. Make sure the surface is clean and you use good force to adhere the emblem. Also hold it in place with good pressure for about 20 seconds to ensure a good bond. The factory emblem was installed with automotive adhesive as well and has been on therir for 17+ years so anticipate a little battle to get it off. A heat gun will help but don’t use too much heat and damage the paint. A flat head screw driver and razor blade is also helpful but be VERY careful not to gouge your paint in the process. This comes in the black/silver (satin finish) or the retro red/silver option (gloss finish).
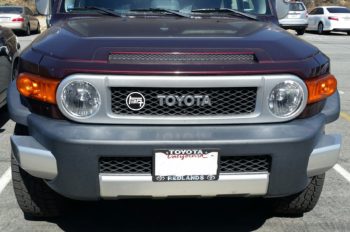
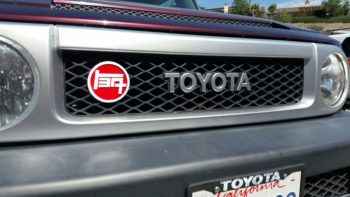
Aluminum FJ Cruiser TEQ Badge
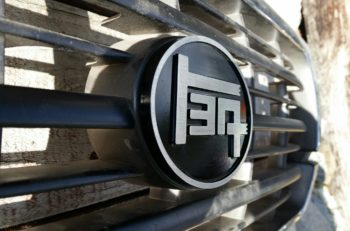
This is a brushed aluminum TEQ badge that can be mounted on all years FJ Cruisers and can be mounted in numerous locations on the upper and lower grille. The backing plate is installed from the rear of the grille. Provided strips of 3m automotive adhesive are already installed on the back of the emblem. You simply need to remove the red backing from the tape and stick the emblem onto the backing plate. Use good force when installing the adhesive. The install should take 1-2 minutes tops. No tools are needed. This adhesive is VERY sticky so make sure you line it up and get it straight before you stick it on. You probably want someone to hold the backing plate in place while you install the TEQ badge so you can be directly in front and level with the badge as you install it to guarantee you get it straight. I have the black/silver, red/silver, and bare aluminum in stock. The bare aluminum would be for the folks looking to color match their paint.
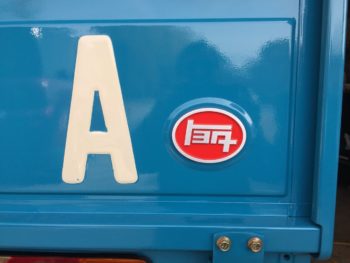
Aluminum FJ45 Tailgate Badges
This is a machined aluminum tail gate badge for an FJ45 Toyota Landcruiser. It is designed to be mounted in the oval recessed area on the tailgate. In actuality; it can be mounted on any Toyota on any flat spot, but it was designed to fit perfectly in that oval spot. It is 1/4″ in overall thickness. There are two strips of 3M automotive adhesive that are already attached that will allow you to bond it to the surface. No drilling or hardware is needed for install. Just stick it on. Make sure the surface you are attaching it to is very clean. Put good force onto the emblem when installing it and rock it up and down and left to right to make sure the adhesvie 100% bonds; then hold it firm and in place for about 20 seconds. Also make sure to get it right the first time, because this adhesive doesn’t like to let go once you stick it. I have two color options; the red/silver and black/silver. There is also two design options. You can order the original 4X4 logo or the retro TEQ logo. The picture of the badge installed on the tailgate is the old plastic version. Updated installed pics are coming soon.
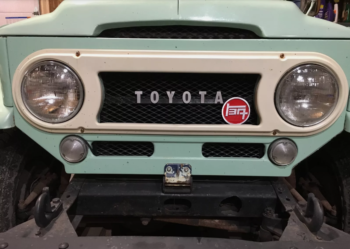
Aluminum FJ40 TEQ grille badge
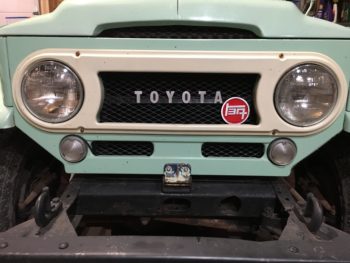
This is a custom machined aluminum TEQ grille badge for an FJ40 Toyota Landcruiser. It comes in two color combos: the red/silver and black/silver It can fit into numerous locations on the grille. This is a two piece design. The backing plate is inserted from the rear and will protrude through the expanded metal grille. You will then run 3 strips of 3M automotive adhesive across the backing plate tabs that will stick out a hair past the grill. The adhesive strips will sandwich the backing plate onto the grille. Once the rear backing plate is securely adhered to the adhesive, you will then remove the red strips to expose the adhesive. The TEQ badge is then stuck onto the adhesive. It has the ability to move up/down and left/right by about 1/2″. Combined with the rear plate’s ability to move all over the grille; you can pretty much put the emblem anywhere you want around the “TOYOTA” emblem on the grille. The pictures provided are all the old plastic version. The new aluminum version will have pics posted soon.
Aluminum TEQ Universal Badge (Round and Oval)
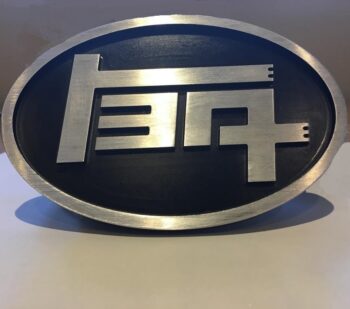
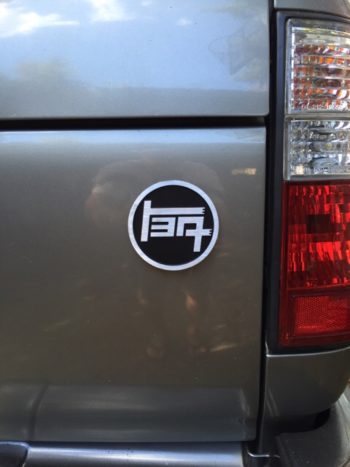
These are machined Aluminum TEQ badges (NOT PLASTIC) that can be mounted to any year and model Toyota/Lexus on any flat surface. It comes in 2 options. You can order the round or oval TEQ badge. Each badge comes in 3 finishes. You can get the red/silver, black/silver, and bare metal. The black/silver has a satin finish. The red/silver has a gloss finish. Just seemed to look best in those two finishes for those specific colors. The bare metal is for folks who want to paint them with your own custom color. Just do a couple heavy coats and then give 48 hours of drying time. Get some fine grit sandpaper and sand off the outer edge exposing the aluminum on the letters. The round is 3.5″ in diameter. The oval is 3.5″ tall and 5.2″ wide. These come with 3 strips of 3M automotive adhesive already installed. When installing make sure the surface is clean. Make sure you take your time to get it right. Once it’s stuck on, it does NOT want to come off.

